Scheduling helps prepare posts ahead of time. A scheduled post is different from a published post: check the saved date, time and publication state before telling fans it is available.
Before you start
Sign in to the account you want to use. Creator-only controls appear only for accounts with the relevant access. If you manage someone else’s account, confirm you are in the correct workspace before making a change. The pictures use fictional example data; your balances, names, available options and screen layout may differ.
Step by step
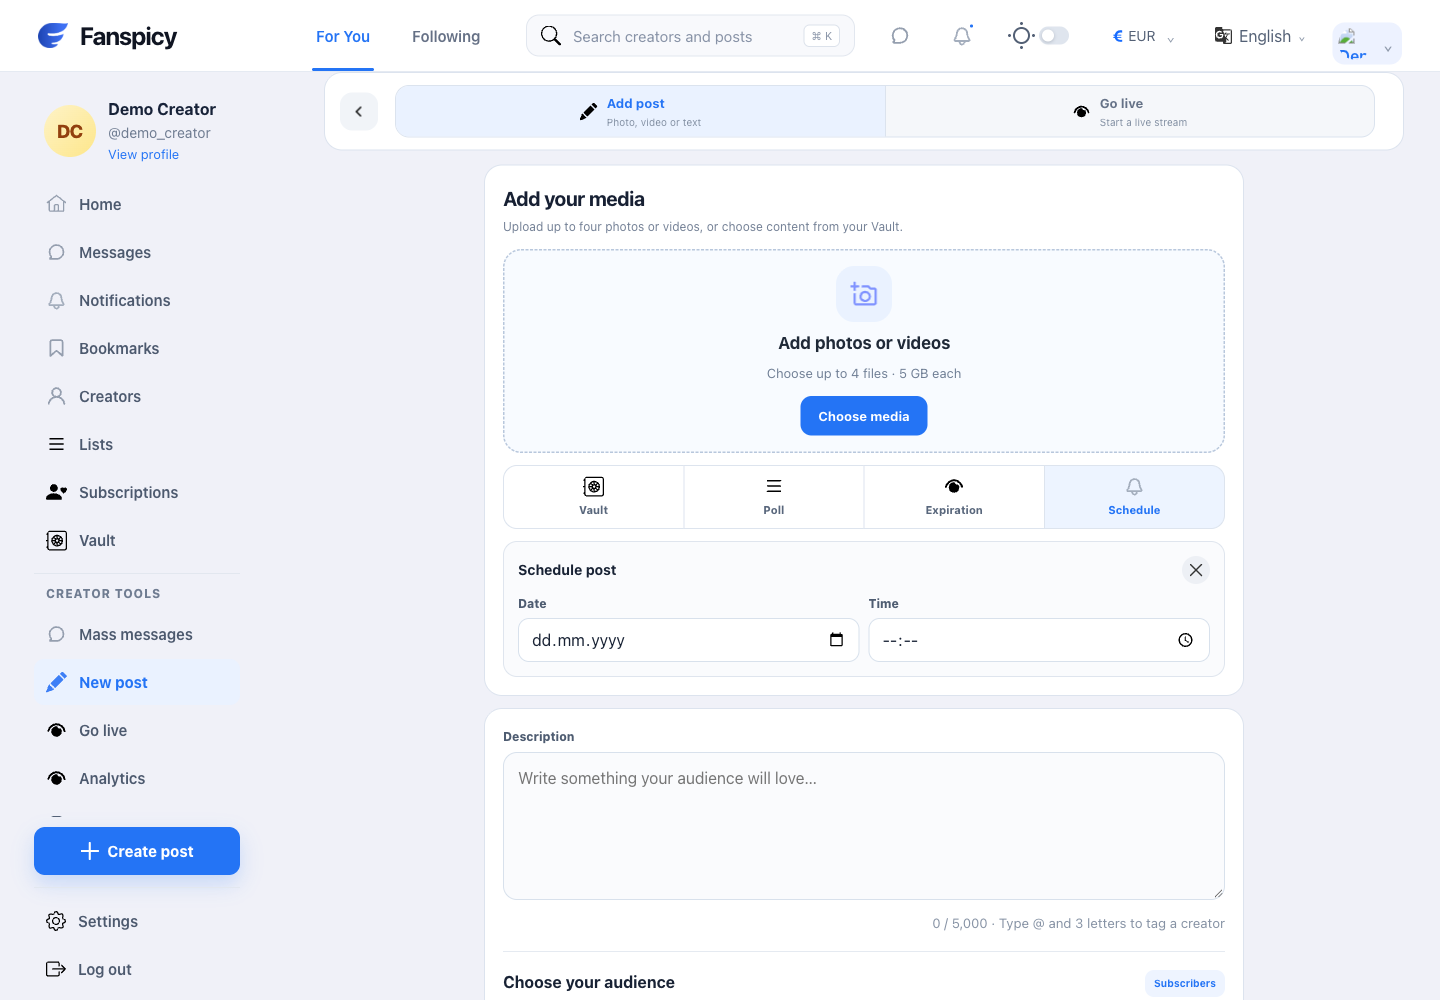
- Prepare your post and select Schedule.
- Choose the date and time using the fields shown.
- Check the time zone or time presentation in the interface before confirming.
- Review media, description, audience and price.
- Submit using the composer’s final action and check the resulting post state.
- Return to the post if you need to review or edit its scheduled details.
Check the result
Both date and time are needed. Upload completion alone does not confirm scheduling or publication, and pending media review can affect availability.
If something is not working
If a post did not appear when expected, report its reference, the selected date and time, and the time zone you were using. Support should inspect the saved record before diagnosing a scheduling bug.
When reporting a problem, include the page, approximate time, what you expected and what happened instead. A screenshot of the error can help. Hide private messages and payment details that are unrelated to the issue. Never send your password, verification code, recovery code or API secret.