Your email address is used for account communication and verification. Changing a typed email in a form is not the same as completing the verification process.
Before you start
Sign in to the account you want to use. Creator-only controls appear only for accounts with the relevant access. If you manage someone else’s account, confirm you are in the correct workspace before making a change. The pictures use fictional example data; your balances, names, available options and screen layout may differ.
Step by step
- Open Settings → Email.
- Check the address currently displayed before entering the new one.
- Read the verification instructions shown by the website.
- Complete the verification using the official account flow.
- Return to Settings and check which address and verification state are now recorded.
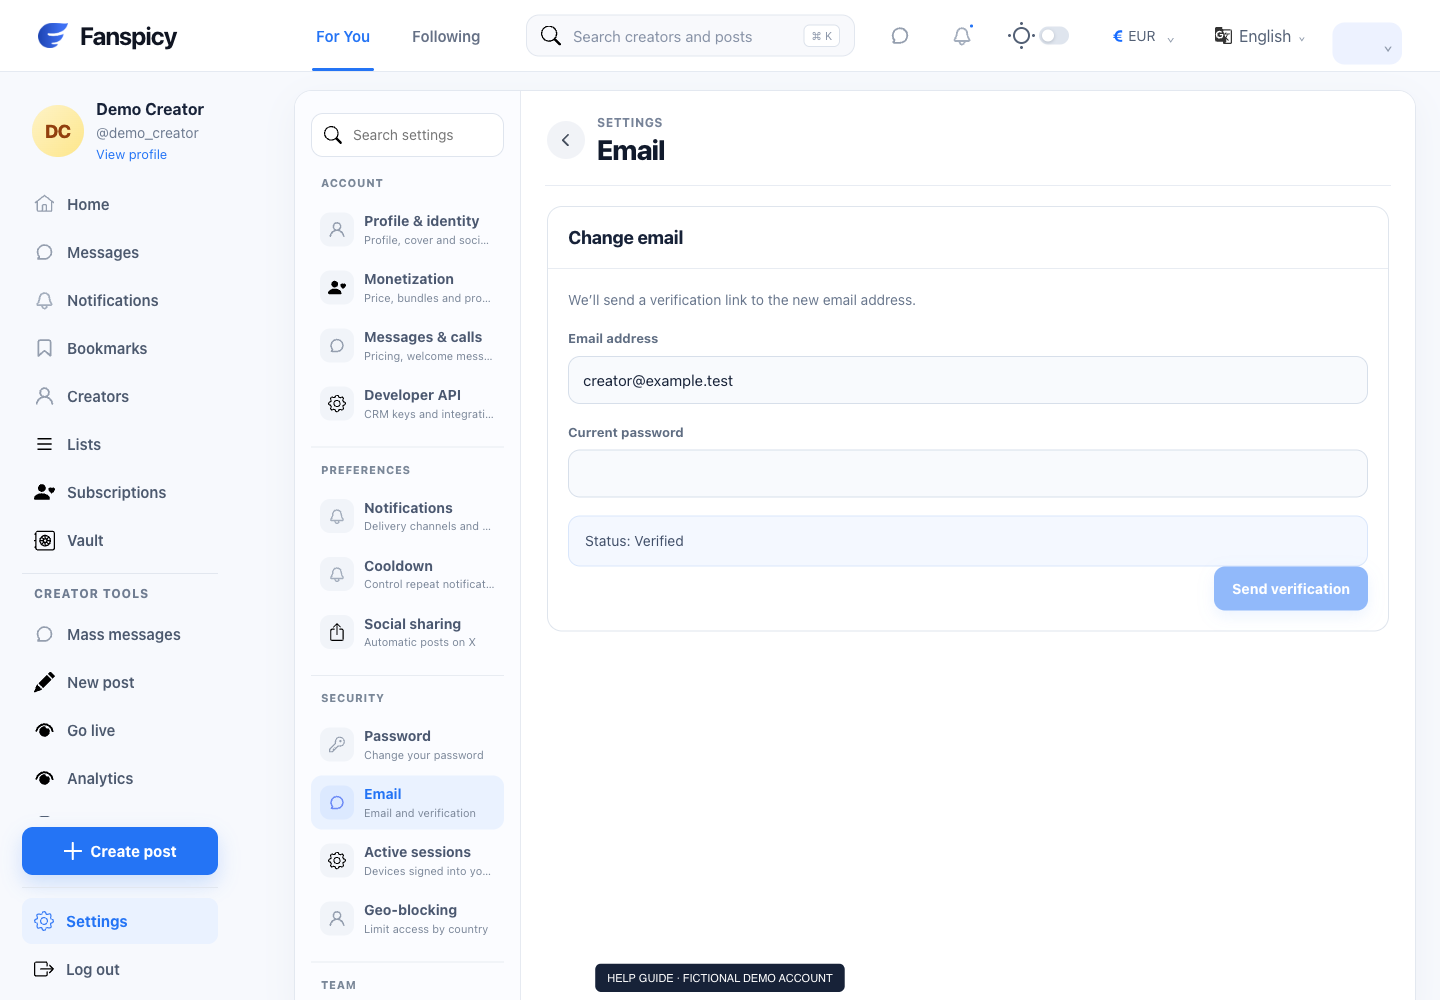
Check the result
Look for the confirmed email and verification status. Support must not treat an unverified address typed in chat as proof of account ownership.
If something is not working
If a message does not arrive or a link fails, provide the approximate request time and the visible error. Do not forward private verification codes into chat.
When reporting a problem, include the page, approximate time, what you expected and what happened instead. A screenshot of the error can help. Hide private messages and payment details that are unrelated to the issue. Never send your password, verification code, recovery code or API secret.