Social sharing settings connect eligible creator activity with an external social account. Each external platform has its own content and posting rules.
Before you start
Sign in to the account you want to use. Creator-only controls appear only for accounts with the relevant access. If you manage someone else’s account, confirm you are in the correct workspace before making a change. The pictures use fictional example data; your balances, names, available options and screen layout may differ.
Step by step
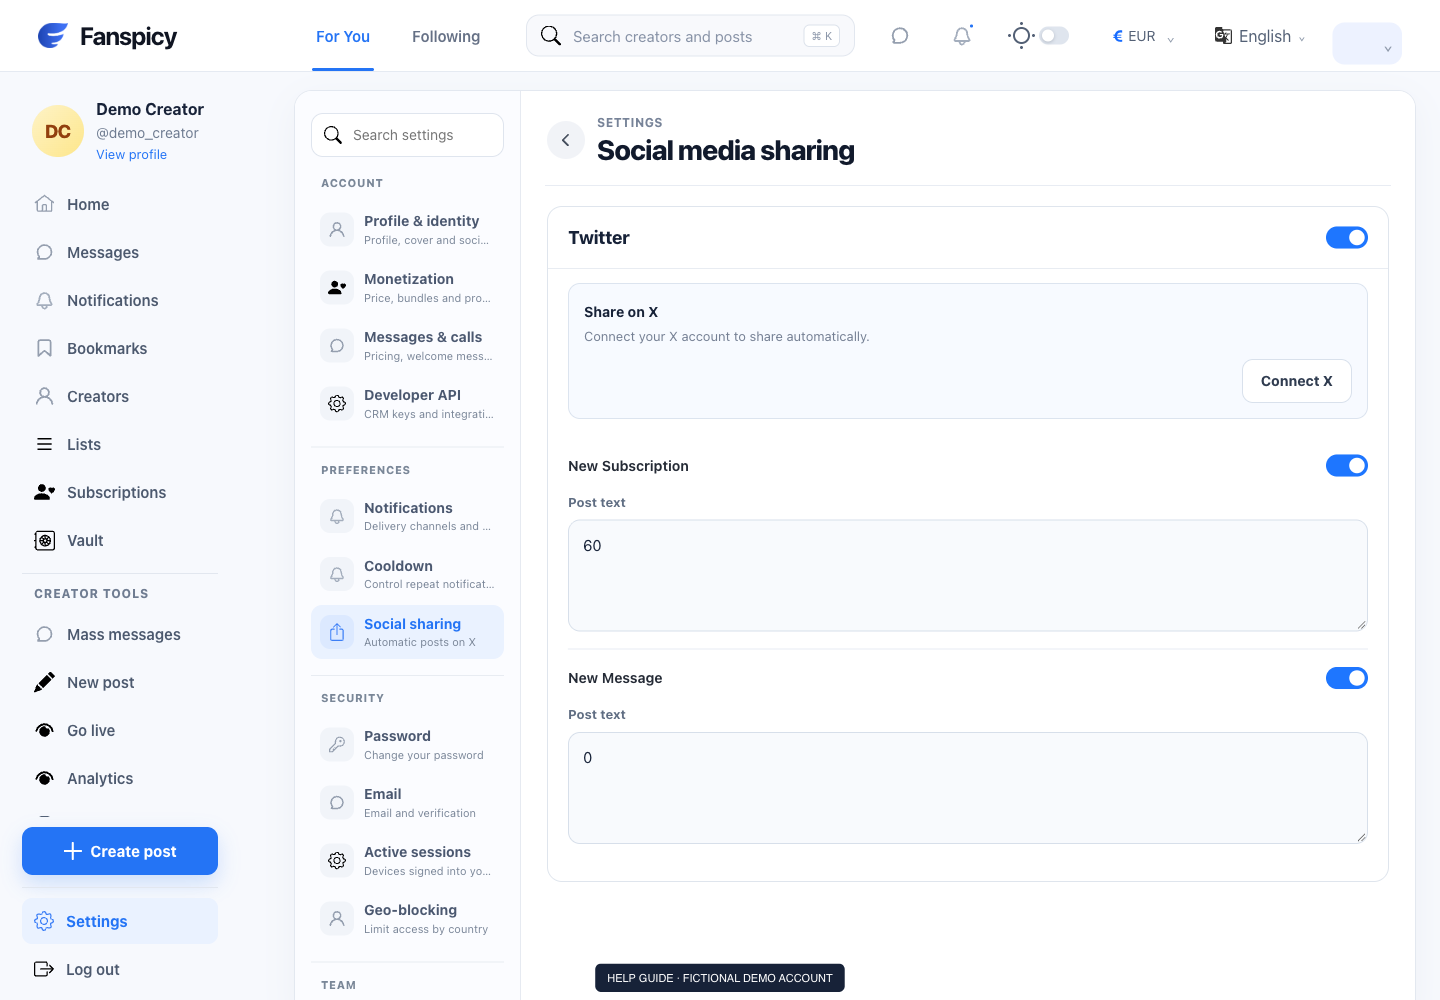
- Open Settings → Social sharing.
- Review the connected account and available sharing options.
- Connect or disconnect an account only after checking which profile is selected.
- Read the options for automatic posts on X and choose what you want shared.
- Save changes and inspect the external account before assuming a post appeared.
Check the result
A saved connection is not proof that an external post was published. Review both the Fanspicy setting and the destination account.
If something is not working
If sharing fails, report the platform, time and any error shown. Never send the external account password or authorization token to support.
When reporting a problem, include the page, approximate time, what you expected and what happened instead. A screenshot of the error can help. Hide private messages and payment details that are unrelated to the issue. Never send your password, verification code, recovery code or API secret.