

Índice
TL;DR:
- Streaming tips focus on improving broadcast quality, audience engagement, and creator performance. A stable technical setup with proper audio and lighting is essential for retaining viewers and avoiding stream disruptions. Consistent testing, redundancy, and structured interaction help creators build loyal audiences and maintain reliable live broadcasts.
Streaming tips are actionable strategies and techniques designed to improve broadcast quality, audience engagement, and overall creator performance. The gap between a forgettable stream and one that builds a loyal audience comes down to deliberate choices in setup, audio, and interaction. Creators who follow professional standards, like bitrate guidelines, audio priority, and structured run-of-show planning, consistently outperform those who go live without preparation. This guide covers the technical, creative, and operational practices that separate professional broadcasts from casual ones in 2026.
What are the best streaming tips for technical setup?
Your technical foundation determines everything else. A shaky connection or misconfigured encoder will undo even the most creative content plan before a single viewer has a chance to engage.
Resolution, bitrate, and frame rate
A stable baseline for solo streaming is 720p at 30 fps with a bitrate between 2,500 and 4,000 kbps. That range gives you stability on variable connections without overloading your upload bandwidth. The practical rule is to use 50–70% of your stable upload speed and leave the rest as overhead for fluctuation. Pushing your bitrate to 100% of your available upload is the fastest way to trigger dropped frames.
Encoder settings that prevent disruption
Set your keyframe interval to 2 seconds for compatibility with adaptive bitrate protocols. Most streaming protocols rely on a 2-second GOP size, and deviating from it causes buffering on the viewer’s end. Use constant bitrate mode rather than variable bitrate. Variable bitrate works well for file exports but creates unpredictable spikes during live delivery.
Network and hardware choices
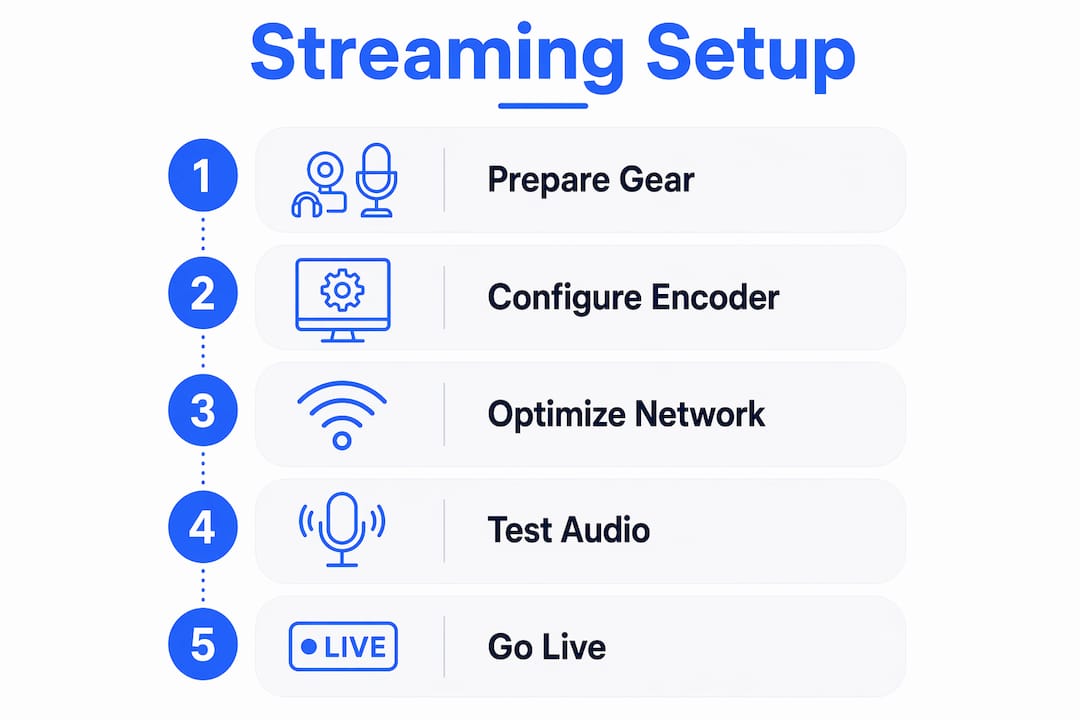
A hardwired Ethernet connection is non-negotiable for professional or mission-critical broadcasts. Wi-Fi introduces packet loss and latency spikes that no encoder setting can fully compensate for. For high-availability setups, add a cellular backup connection that kicks in automatically if your primary line drops.
Pre-stream testing and local recording
- Run a mandatory 5-minute test stream before every broadcast. A 5-minute test run validates your audio, video, and connection before any viewer sees a problem.
- Record locally to an SD card or hard drive during every live stream. Local recording during streams protects you against network failures and gives you footage for post-production.
- Use a dedicated hardware encoder separate from your main computer. Hardware encoders improve reliability by removing OS background processes and software crashes from the equation.
Consejo profesional: Create a pre-stream checklist in a notes app and run through it before every broadcast. Include audio levels, encoder settings, test stream confirmation, and local recording status. Checklists eliminate the mental load of remembering steps under pressure.
| Setting | Recommended value | Why it matters |
|---|---|---|
| Resolution | 720p (1280×720) | Stable on variable connections |
| Frame rate | 30 fps | Lower CPU load, smooth playback |
| Bitrate | 2,500–4,000 kbps | Matches most upload speeds |
| Keyframe interval | 2 seconds | Required for adaptive bitrate |
| Bandwidth usage | 50–70% of upload | Leaves overhead for fluctuation |
How does audio and lighting affect viewer retention?
Audio quality is the highest-return investment for any stream. Viewers tolerate minor video imperfections but abandon streams with distorted or inconsistent sound almost immediately. A $100 USB condenser microphone outperforms a $1,000 camera’s built-in mic every time.
- Ditch the laptop or camera mic. Built-in microphones pick up fan noise, keyboard clicks, and room echo. A dedicated USB or XLR microphone placed 6–8 inches from your mouth solves all three problems at once.
- Treat your room acoustically. Soft furnishings, bookshelves, and foam panels reduce echo without requiring a professional studio. Even a closet full of clothes works as a recording space in a pinch.
- Set up three-point lighting. Place a key light in front of you slightly to one side, a fill light on the opposite side to soften shadows, and a backlight behind you to separate your image from the background. This setup creates consistent, flattering illumination regardless of the time of day.
- Frame your camera at eye level. A camera positioned below eye level creates an unflattering upward angle. Mount your webcam or camera at eye height and position yourself so your eyes sit in the upper third of the frame.
- Build consistent visual branding. Use the same background, color palette, and on-screen graphics across every stream. Structured streams with logos, countdown timers, and lower-thirds add perceived quality and separate professional broadcasts from hobbyist content.
Consejo profesional: Record a 60-second test clip and watch it back with headphones before going live. You will catch audio issues, lighting problems, and framing mistakes in two minutes that you would otherwise miss during a live broadcast.
How do you grow and engage your audience during a live stream?
Audience growth is a byproduct of consistent, interactive streams. Viewers return to creators who acknowledge them, plan content with clear objectives, and show up on a predictable schedule.
Build interaction into your run-of-show
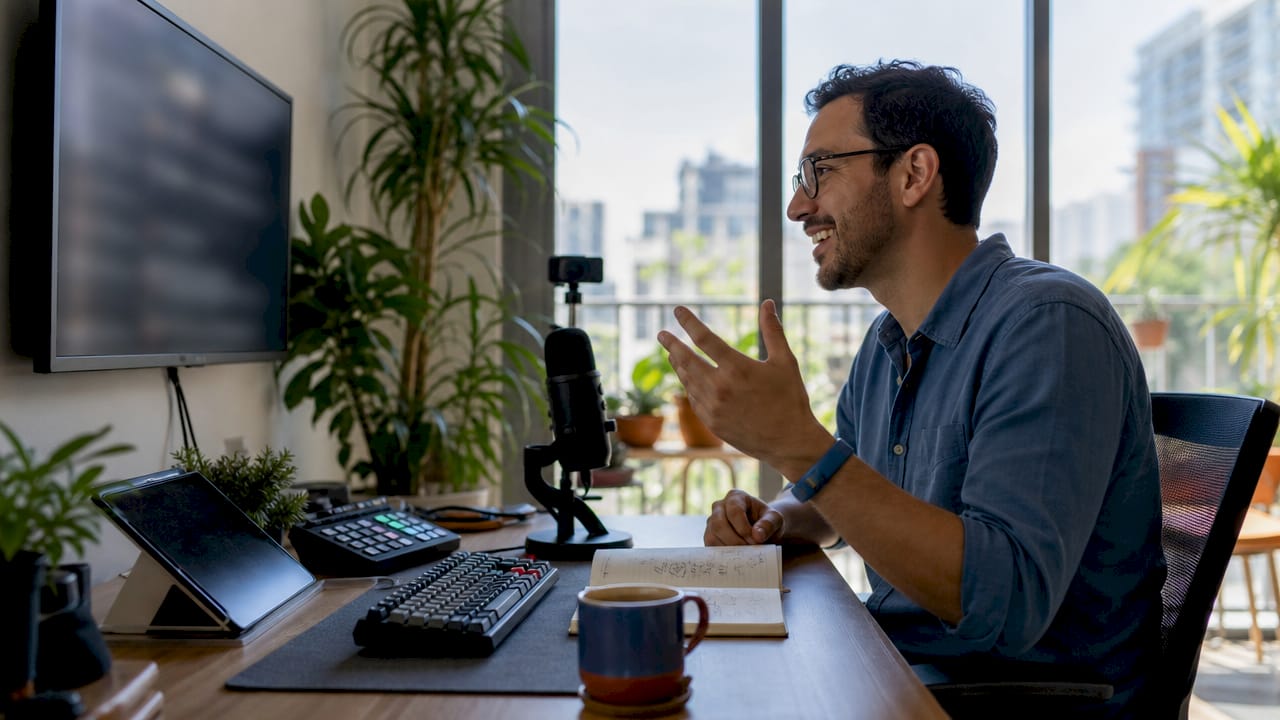
Plan your interactive elements before you go live. Polls, Q&A segments, and viewer challenges work best when they are scheduled at specific points in the stream rather than improvised. A structured run-of-show with clear objectives differentiates professional broadcasts from casual ones. Viewers sense when a creator has a plan, and that confidence keeps them watching.
Communicate before, during, and after the stream
- Announce your stream time on social media at least 24 hours in advance.
- Pin a welcome message in chat so new viewers know what the stream covers.
- Post a recap or highlight clip within 24 hours of ending. This extends the life of your content and pulls in viewers who missed the live broadcast.
- Respond to comments on your recap post. Post-stream engagement signals to platform algorithms that your content drives conversation.
Moderate your chat actively
Unmoderated chat drives away the viewers you most want to keep. Assign a trusted moderator to handle spam and enforce community rules so you can focus on content. If you stream solo, use automated filters for common spam patterns and review flagged messages during natural breaks. For creators building a paid community, platforms like Fanspicy give you tools to manage subscriber interactions directly within the stream environment.
Think carefully about multi-platform streaming
Streaming to multiple platforms simultaneously increases reach but adds complexity. Professional studios use high-speed broadband and backup systems to handle multi-platform delivery without downtime. If you are streaming solo without dedicated infrastructure, start with one platform and add a second only after your technical setup is fully stable.
How do you manage risk and stay reliable during a live broadcast?
Reliability is the one quality that builds long-term audience trust faster than any content strategy. A stream that drops mid-broadcast loses viewers who may not return.
Build redundancy into your setup
- Keep a backup encoder profile with lower bitrate and resolution ready to activate in one click.
- Use a cellular hotspot as a secondary internet connection. Switch to it manually if your primary line shows instability.
- Save a standby screen or “be right back” graphic in your encoder software. It masks technical hiccups and looks professional while you troubleshoot.
Monitor stream health in real time
Watch your encoder’s dropped frames counter and bitrate graph throughout the broadcast. A dropped frames rate above 5% signals a network or hardware problem that needs immediate attention. Check viewer comments for reports of buffering, since your audience often notices quality drops before your monitoring tools flag them.
Troubleshoot in the right order
Reducing bitrate first is the correct first step when you face dropped frames or buffering. Bitrate pressure is the most frequent failure mode in live streaming. Only after reducing bitrate should you simplify your scene, close background applications, or check CPU load. Jumping straight to scene simplification without addressing bitrate wastes time and often fails to solve the problem.
Consejo profesional: Save two encoder profiles: one at your target quality and one at a reduced “emergency” setting. Label them clearly. When something goes wrong live, switching profiles takes five seconds and buys you time to diagnose the real issue.
Reduce mental load before you go live
Workflow preparation prevents most common failures. Lay out your equipment the night before, run your pre-stream checklist, and confirm your backup systems are active. The less you have to think about during a broadcast, the more attention you can give to your audience. For creators who want to understand the full technical picture, the live streaming fundamentals guide on Fanspicy covers the end-to-end process in detail.
Principales conclusiones
Consistent streaming quality comes from combining stable technical setup, prioritized audio, structured content planning, and active redundancy before every broadcast.
| Point | Details |
|---|---|
| Bitrate and resolution baseline | Stream at 720p, 30 fps, and 2,500–4,000 kbps for stable delivery on variable connections. |
| Audio is the top priority | Invest in a dedicated microphone before upgrading any video equipment. |
| Test before every broadcast | A 5-minute test stream catches audio, video, and connection issues before viewers see them. |
| Redundancy prevents disasters | Keep a backup encoder profile, a cellular hotspot, and a standby screen ready at all times. |
| Interaction drives retention | Plan polls, Q&A, and moderation into your run-of-show rather than improvising them live. |
What I’ve learned from watching creators succeed and fail live
The biggest mistake I see creators make is treating technical setup as a one-time task. They configure their encoder once, it works, and they never revisit it. Then their internet provider upgrades their infrastructure, their upload speed changes, and suddenly their stream drops frames every five minutes. The setup that worked six months ago is not guaranteed to work today.
The second pattern I notice is creators who invest heavily in camera gear while ignoring audio. A 4K camera with a laptop microphone sounds worse than a 720p stream with a $80 condenser mic. Viewers will forgive a slightly soft image. They will not forgive crackling audio or a voice buried in room echo.
What actually separates the creators who build loyal audiences is the combination of technical discipline and genuine interaction. The technical side prevents failure. The interaction side creates reasons to return. Neither works without the other. Creators who master both, and who keep testing and adapting as tools evolve, are the ones still streaming two years from now. For practical strategies on growing your viewer base, the approach is the same whether you are just starting out or already have an established audience.
— fan
Fanspicy resources for serious streamers
Fanspicy is built for creators who treat streaming as a profession, not a hobby. Whether you are setting up your first broadcast or refining a paid content strategy, the platform offers practical guidance on technical setup, audience growth, and monetization tailored specifically to adult content creators.
En live streaming tips section on Fanspicy covers everything from encoder settings to subscriber engagement strategies in one place. Fanspicy gives creators the tools and context to build streams that convert viewers into paying subscribers, with resources grounded in what actually works for adult content platforms in 2026.
PREGUNTAS FRECUENTES
What bitrate should I use for live streaming?
A bitrate between 2,500 and 4,000 kbps at 720p, 30 fps is the stable baseline for most solo creators. Use 50–70% of your available upload speed to leave overhead for connection fluctuations.
Why does audio matter more than video quality?
Viewers tolerate minor visual imperfections but abandon streams with distorted or inconsistent audio almost immediately. A dedicated microphone is the single highest-return equipment upgrade for any streamer.
How do I stop dropped frames during a live stream?
Reduce your bitrate first. Bitrate pressure is the most common cause of dropped frames, and lowering it takes effect immediately without requiring you to restart the stream.
Should I stream to multiple platforms at once?
Multi-platform streaming increases reach but adds technical complexity. Start with one platform until your setup is fully stable, then add a second only when you have the bandwidth and backup systems to support it reliably.
How long should I test before going live?
Run a 5-minute test stream before every broadcast. That duration is enough to validate your audio levels, video feed, encoder settings, and connection stability before any viewer joins.